extra_toc
Installation des SK-go!®-Clients
Installation des SK-go!®-Clients
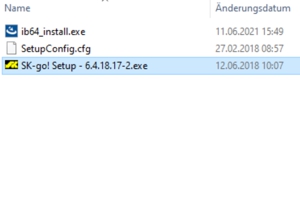
- After installing the Interbase client, the setup for SK-go!® must be executed. For this purpose, the client setup (e.g. SK-go! Setup - 6.4.18.17-2.exe) must be started from the temporary directory.
- After starting the SK-go!®-Client installation routine, follow the instructions in the first screen, than select a setup type and confirm by clicking on "NEXT". If the installation type NORMAL or COMPLETE is selected, no selection of the components to be installed appears in the following dialog.
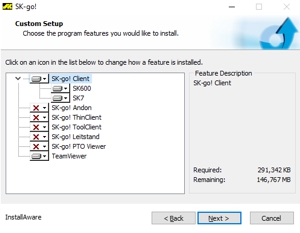
- If the CUSTOM installation type was selected, the components to be installed can be selected manually. The Teamviewer feature only saves Teamviewer Quick Support on the client PC; no full version of Teamviewer requiring a license is installed.
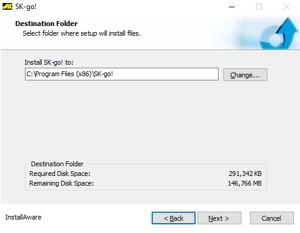
- In the next step, the target directory for the installation can be changed. By default, the software is installed in the Program Files (x86)\ directory. With a kick on "NEXT" the path is taken over and the assistant continues.
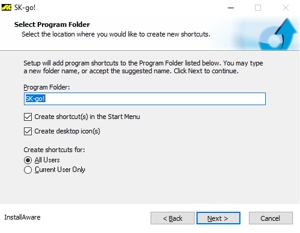
- After the installation directory has been defined in the previous step, the entry in the start menu can be configured in this step. As a rule, this is created under SK-go!® for all users. With a kick on "NEXT" the path is taken over and the assistant continues.
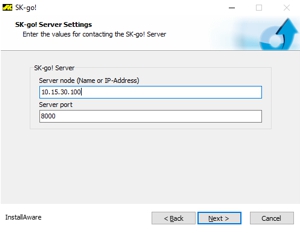
- The last information to be entered before starting the installation is the server address. Both the DNS name and the IP address can be used here. The server port is usually always 8000 and should only be changed after consultation with SK customer service, otherwise the client software will not start properly.
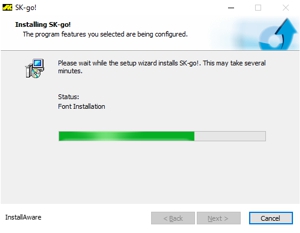
- After all the information has been successfully entered, the setup will install the selected functions in the next step.
- After the SK-go!® client software has been installed, the installation is terminated by clicking on "FINISH" and the window is closed. Before ending the installation, the user administration can be opened via the link "Start "SK-go! User Administration"" link to open the user administration to create a new user.