Preface
Installation instructions for the SK-go!® APS software
All information in this documentation has been compiled after careful examination, but does not constitute an assurance of product properties. Schwer + Kopka is only liable to the extent that is stipulated in the terms of sale and delivery.
Passing on and duplication of the documentation and software belonging to this product and the use of their contents are only permitted with the written permission of Schwer + Kopka. We reserve the right to make changes that serve technical progress.
Brands
Windows®, Windows 10® and Microsoft® are registered trademarks of Microsoft, Corp.
Hints
Several employees from different parts of the company contributed to the creation of this documentation in order to provide the best possible support when working with the MES system SK-go! to offer.
Should you still find an error, or you would simply like to send an e-mail suggestion about this documentation, please send it directly to: This email address is being protected from spambots. You need JavaScript enabled to view it.
If you have any questions or need additional help beyond the scope of the topics discussed in this manual, our customer service representatives are always available by telephone.
Preparations
Preparations
- Please ensure that you have the necessary administration rights on the PC system for the following installation work.
- Please copy the installation files of the Interbase client (e.g. iB64_install.exe) and the SK-go! client (e.g. SK-go! Setup - 6.4.18.17-2.exe) to the relevant PC in a temporary directory and start the installation from there when all preparations have been completed.
- Furthermore, please make sure that the following ports are not closed or blocked by a firewall:
- SK-go! APS: Firewall Incoming Port 8010/TCP
- SK-go! Server: Firewall Incoming Port 8000/TCP, 3050/TCP
- Before installing the Interbase and the SKgo!® APS, check whether there is already an INTERBASE or FIREBIRD installation on the PC system. If this is the case, it must be ensured that this installed version is completely and completely uninstalled before a new installation is started.
- The user of the PC system on which the SKgo!® APS installation is carried out should be entered on the BDE server in the SKgo! User administration in the correct user group with all information (surname, first name and Windows login name) before the installation begins.
- During the installation you will be asked for the server name (or IP address) and the port. Please obtain this information in advance.
- If the MES server and the PC for the SK-go!® APS to be installed are not at the same location, we strongly recommend that you perform the installation via a terminal server as a remote app or via remote desktop, as this can result in considerable performance losses due to greater latency times.
Annotation:
The installation of the Embarcadero Interbase Client software is carried out using version 2020 as an example. For problems with the Embarcadero Interbase software, please contact the manufacturer support at:
https://www.embarcadero.com/
http://edn.embarcadero.com/help
https://www.embarcadero.com/products/interbase/faq
Installation of the Interbase-Client
Installation of the Interbase-Client
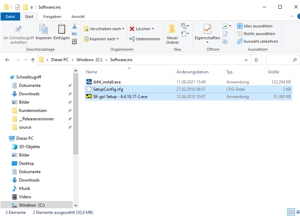
- Both setup installation routines are now available in the temporary folder created previously; in our example, the files have been copied into the temporary folder “Software.ins” which is located on drive C: \.
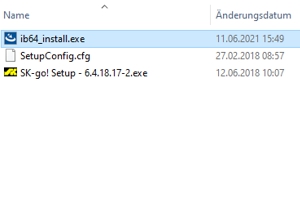
- To install the Interbase client, run the file "ib64_install.exe" and start the installation routine.
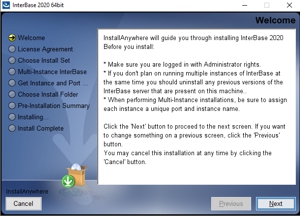
- After starting the Interbase 2020 installation routine, follow the instructions in the first picture and confirm by clicking on "NEXT".
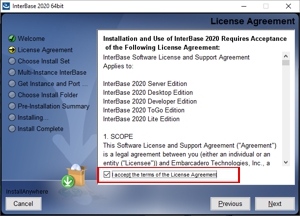
- After reading and accepting the "License Agreement", click on the appropriate control box and click on "NEXT" to switch to the selection of the installation components.
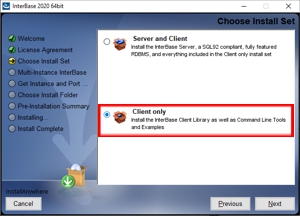
- In this step it is important to select the "Client only" package as the component to be installed. The setup can then be continued by clicking on “NEXT”.
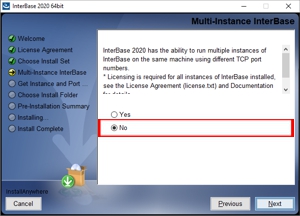
- A multi-instance session is not required for the installation of the MES software SK-go!®. The corresponding question can be answered with "no". The setup can then be continued by clicking on “NEXT”.
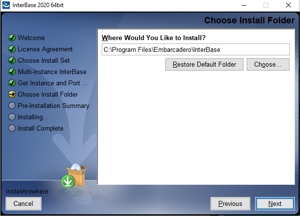
- The suggested path is usually retained and confirmed by clicking on "NEXT".
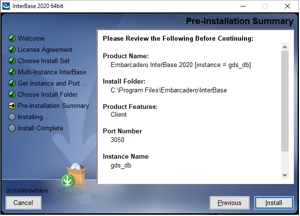
- With a click in the last window on "INSTALL" the installation of the Interbase client software starts.
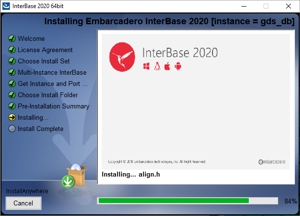
- The installation routine is running.
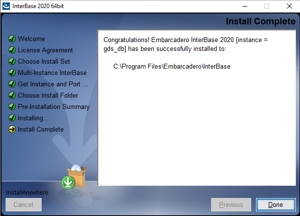
- After the Interbase client software has been installed, the installation is ended by clicking on "DONE" and the window is closed.
Installation des SK-go!®-Fertigungsleitstands
Installation des SK-go!®-Fertigungsleitstands
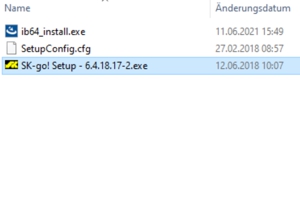
- After installing the Interbase client, the setup for SK-go!® must be executed. For this purpose, the client setup (e.g. SK-go! Setup - 6.4.18.17-2.exe) must be started from the temporary directory.
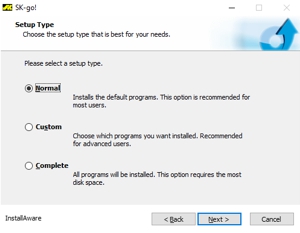
- After starting the SK-go!® client installation routine, follow the instructions in the first screen, select a setup type and confirm by clicking on "NEXT". For the installation of the SK-go!® APS, the type CUSTOM or COMPLETE must be selected.
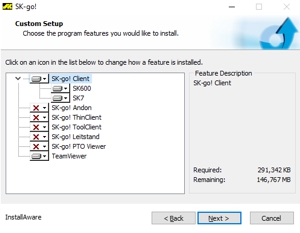
- If the CUSTOM installation type was selected, the components to be installed can be selected manually. For the SK-go!® APS, the feature "SK-go! Leitstand" must be activated. The Teamviewer feature only saves Teamviewer Quick Support on the client PC; no full version of Teamviewer requiring a license is installed.
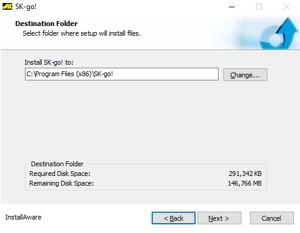
- In the next step, the target directory for the installation can be changed. By default, the software is installed in the Program Files (x86)\ directory. With a kick on "NEXT" the path is taken over and the assistant continues.
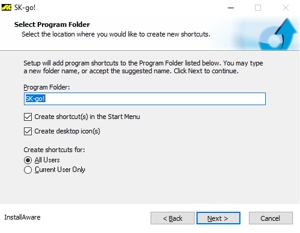
- After the installation directory has been defined in the previous step, the entry in the start menu can be configured in this step. As a rule, this is created under SK-go!® for all users. With a kick on "NEXT" the path is taken over and the assistant continues.
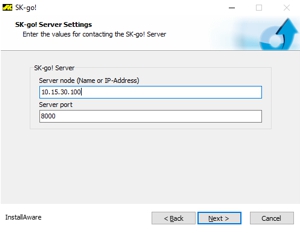
- The last information to be entered before starting the installation is the server address. Both the DNS name and the IP address can be used here. The server port is usually always 8000 and should only be changed after consultation with SK customer service, otherwise the client software will not start properly.
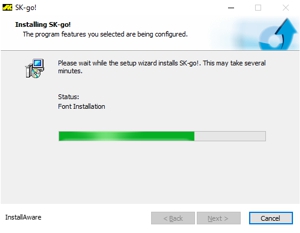
- After all the information has been successfully entered, the setup will install the selected functions in the next step.
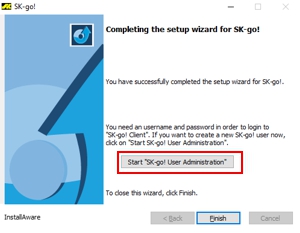
- After the SK-go!® APS software has been installed, the installation is terminated by clicking on "FINISH" and the window is closed. Before ending the installation, the user administration can be opened via the link "Start "SK-go! User Administration"" link to open the user administration to create a new user.
